How I Store, Sort and Label my LEGO Collection
Storing loose LEGO parts can be challenging. I’ll share how I store my collection, sort parts by categories, and add labels.
Storage
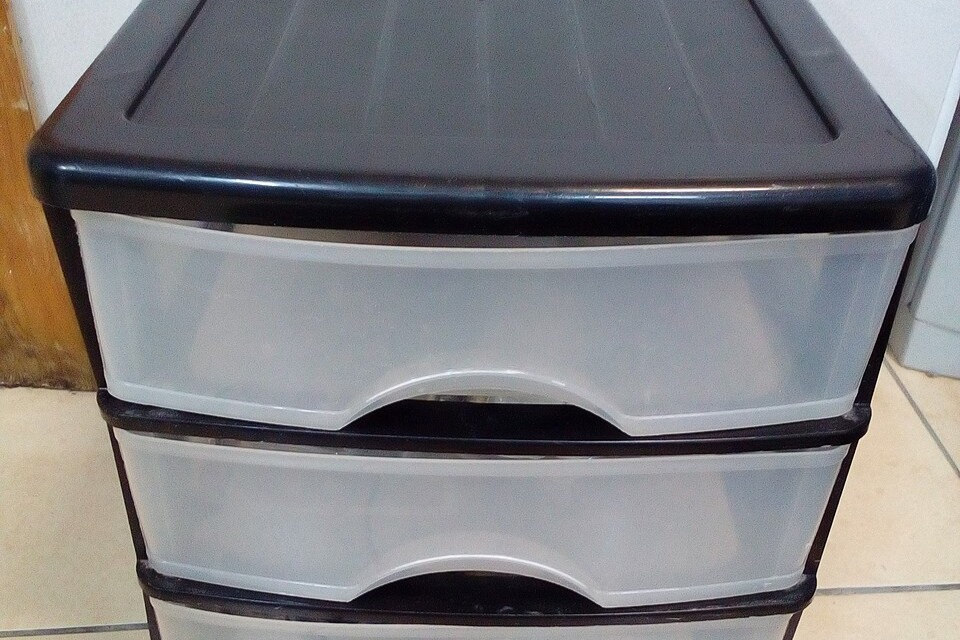
Parts can be stored in bins, drawers, or bags, and can be separated by part type and colors. The majority of my LEGO collection is kept in plastic Sterilite drawers, designed with removable covers allowing you to easily stack on more drawers. I use three different sizes of Sterilite drawers: large, medium, and small. When stacked too high, the drawers struggle to bear weight. To prevent this, I stack the small drawers on bookshelves. I use cardboard boxes cut from cereal containers as drawer dividers to organize parts inside the drawers. Any tall wood or plastic shelving can be used to store ongoing projects or display finished builds.
Categories
Sorting by color looks nice. But unless it’s for young kids, it slows finding pieces and quick building. Grouping by type, like bricks, plates, slopes, minifigs, accessories, speeds up spotting the right parts.
Here are three ways to sort LEGO into categories.
Option 1
- Bricks: Basic LEGO bricks like 2×4, 1×2, and other shapes
- Plates: Flat parts with studs
- Tiles: Smooth plates
- Minifigures: All minifigure parts including bodies, heads, accessories, and hair
- Wheels & Axles: Wheels, tires, and axles for vehicles
- Technical Parts: LEGO Technic pieces such as beams, gears, connectors
- Specialty Parts: Unique pieces like windows, doors, and special shapes
- Accessories & Decorations: Weapons, tools, and decorative elements
- Baseplates: Large foundation plates including themed baseplates
Option 2
- Bricks: Standard bricks in all sizes and colors
- Plates: Flat parts with studs
- Tiles: Smooth plates
- Minifigures: Figures, hats, plumes, etc
- Accessories: Tools, weapons, and minifigure items
- Vehicles: Cars, trucks, planes, boats, etc.
- Buildings: Walls, doors, windows, roofs
- Trees and Plants: Nature pieces for landscaping
- Specialized Pieces: Unique parts like decorations or Technic pieces
- Animals: LEGO animals and pets
- Mechanics: Gears, axles, and moving parts
- Baseplates: Large building foundation plates
- Bricks with Prints: Pieces with designs or stickers
- New Arrivals: Recently added pieces
- Miscellaneous: Pieces that don’t fit other categories
Option 3
- Minifigures
- Accessories: Tools, weapons, minifigure items
- Bricks – Modified Bricks
- Plates 1×3, 1×4, 1×6, etc.
- Plates 2×2, 2×3, 2×4, etc.
- Plates 3×3 or larger
- Modified Plates
- Tiles
- Wedges
- Slopes
- Miscellaneous: Pieces that don’t fit other categories
- Miscellaneous Large Pieces: Big pieces that don’t fit standard drawers
- Curved and Arched Parts
- Technic
- Animals
- Baseplates
- Parts with Stickers
You can come up with your own categories based on how you build. These categories could be based on anything, like parts for houses, parts from specific themes. The key is to use categories that help you find the part you need the fastest.
Grouping bricks by type, color, mold, seems perfect. But it’s tough to keep up over time. I skip old or faded ones to save room and stay simple. You choose if you mix colors or molds.
Labeling
I stick Avery labels on my drawers. They come with free templates you can download and print. Each drawer gets a letter for its category and a number for its spot. I print the letter-number combo on Avery sheets. Then I make a second label naming the contents, for example, doors, arches, or minifigures. When you need more space, this labeling setup lets you slide in a drawer right in the middle. Just shift the alphanumeric labels up one drawer. Avery labels peel off and stick back on with ease.
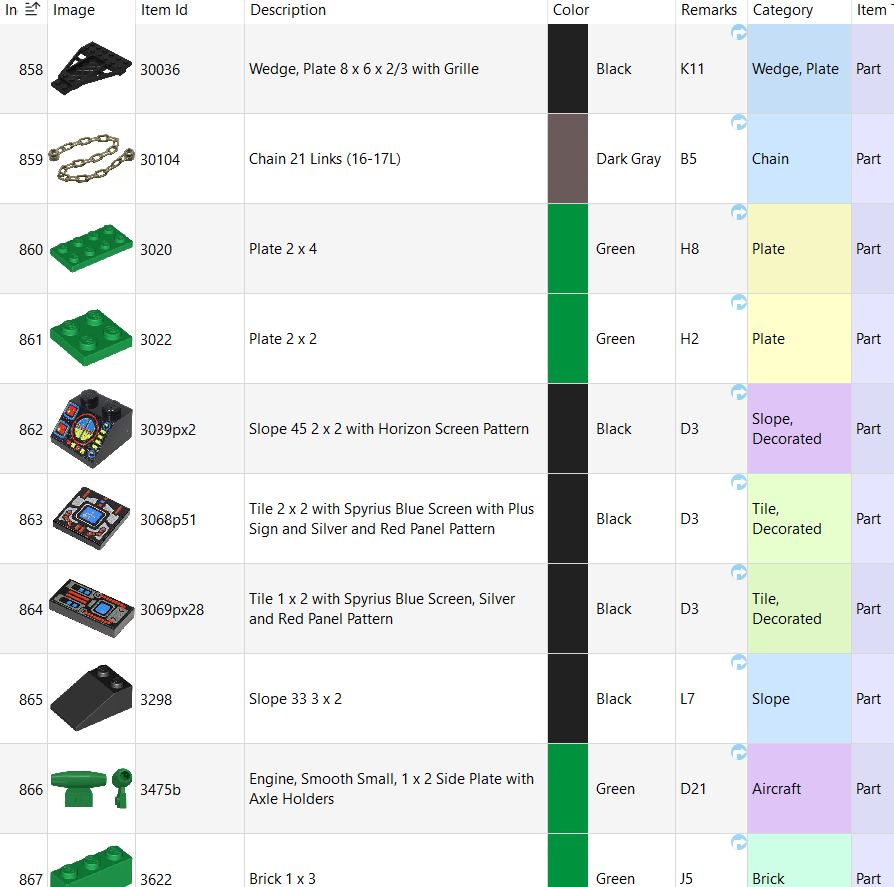
I also keep a digital inventory and track it in BrickStore. I add the drawer letter and number to the Remarks column.
Sorting LEGO parts takes effort, but it pays off if finding pieces for a build gets tough. Share in the comments if you’ve tried these organization tips.